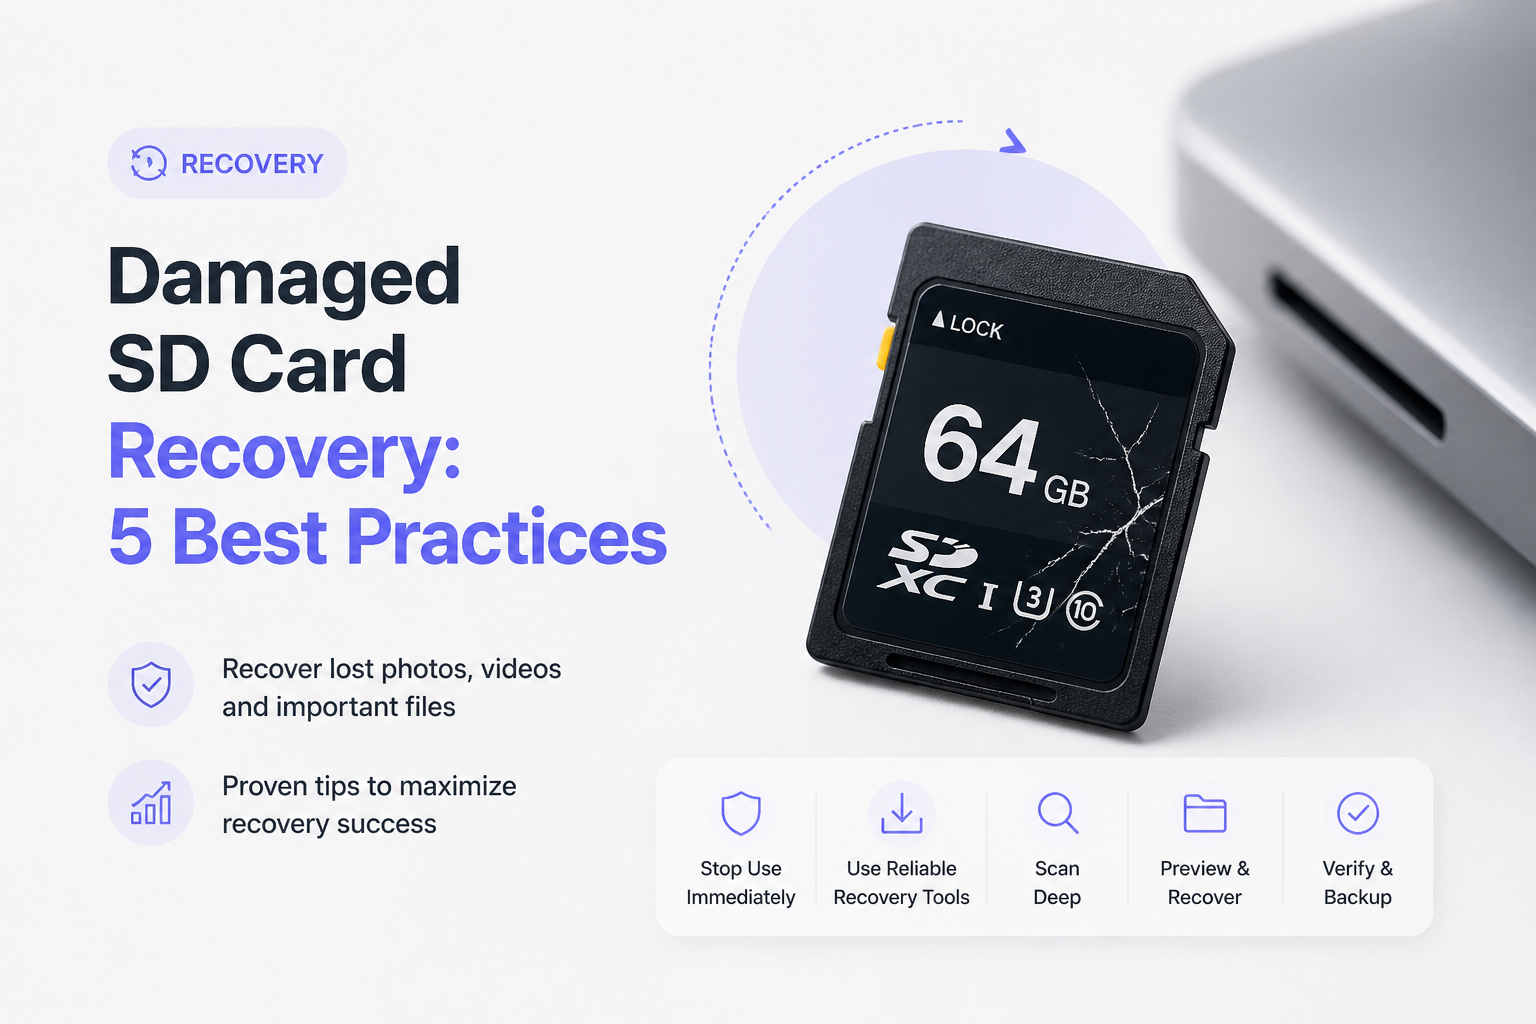
Damaged SD Card Recovery: 5 Best Practices
A damaged card needs a cautious approach, not ten repair apps. These five practices protect what remains while you work from the least risky option to professional help.
Stop using the SD card immediately. Test it with a dependable reader, create a byte-for-byte image if it remains detectable, then scan the image with Disk Drill instead of recovering files directly to the card.
Do not format the SD card or run CHKDSK, First Aid, error checking, or camera repair before recovery. Those operations can alter file-system records that recovery software needs.
Scan a Damaged SD Card Image → Disk Drill
Scans disk images, previews recoverable files, plus supports Windows or macOS
Top 5 Practices for Damaged SD Card Recovery
01 Stop Using the SD Card
The safest first move after deletion, corruption, or a format warning
~1 min
Stop Using the SD Card
The safest first move after deletion, corruption, or a format warning
Every new photo, format attempt, or repair can overwrite recoverable data. Remove the card from the camera or computer before doing anything else.
- Cancel any message asking you to format, initialize, erase, or repair the card.
- Stop recording photos or video, even if the camera still accepts the card.
- Use the operating system's eject command if the card is mounted.
- Remove the card, then slide its physical lock switch to the locked position if it has one.
- Label the card so nobody accidentally puts it back into service.

02 Test the Card With a Different Reader
Useful when a bad adapter or dirty connection looks like card failure
~5 min
Test the Card With a Different Reader
Useful when a bad adapter or dirty connection looks like card failure
A damaged reader, USB port, or microSD adapter can produce disconnects that resemble corruption. A quick hardware check may reveal a connection problem without changing the card.
- Inspect the card for cracks, bent plastic, grime, or damaged contacts.
- Wipe dusty contacts gently with a clean, dry microfiber cloth.
- Place a microSD card in a different full-size adapter, if applicable.
- Connect a reliable external reader directly to another USB port.
- Check whether the card appears in Windows Disk Management or macOS Disk Utility, but decline repair or format offers.
03 Create a Byte-for-Byte Card Image
Best for unstable cards that may worsen during repeated scans
~20–90 min
Create a Byte-for-Byte Card Image
Best for unstable cards that may worsen during repeated scans
An image preserves the card's readable sectors in one file. You can scan that copy instead of repeatedly stressing the original media.
- Connect the SD card through a stable reader.
- Open Disk Drill, then locate its byte-to-byte backup feature.
- Select the whole physical card rather than a visible volume alone.
- Save the image to an internal drive or healthy external disk with more free space than the card's full capacity.
- Leave the computer awake until imaging finishes, then disconnect the original card.
- Keep the image unchanged so you can retry recovery with another tool later.
04 Scan the Card Image With Disk Drill
A practical software route for deleted, formatted, RAW, or inaccessible cards
~15–120 min
Scan the Card Image With Disk Drill
A practical software route for deleted, formatted, RAW, or inaccessible cards
Disk Drill can scan a mounted card or a disk image, then sort found material by type. Previewing several important files gives you a better signal than trusting filenames alone.
- Open Disk Drill, then attach the card image created in the previous method. If the card is stable, select the physical card instead.
- Choose Search for lost data, then let the scan reach completion when possible.
- Filter results by file type, date, size, or name to narrow the list.
- Preview several photos, documents, plus short sections of key videos.
- Select the files you need, then click Recover.
- Save recovered files to a different healthy drive, never back to the damaged SD card.
05 Send the Card to a Recovery Lab
The right choice for physical damage, missing capacity, or irreplaceable files
~3–14 days
Send the Card to a Recovery Lab
The right choice for physical damage, missing capacity, or irreplaceable files
Software cannot fix a cracked circuit board, broken controller, or card that no computer detects correctly. A lab may read memory chips directly, though success is never guaranteed.
- Stop powering the card if it is cracked, burned, wet, hot, or detected with the wrong capacity.
- Place it in an antistatic bag or small protective case.
- Ask the lab whether evaluation is free, how return shipping works, plus what happens if recovery fails.
- Request a written estimate before authorizing chip-level work.
- Tell the technician about every prior format, repair, scan, or write attempt.
- Review the returned data before reformatting or discarding the original card.
When Software Should Not Scan a Damaged SD Card
Do not start a long scan when the card clicks through repeated USB disconnect sounds, reports zero capacity, smells burned, or has a cracked shell. Each power cycle can make an electrical fault worse.
Software also cannot repair broken contacts or reconstruct a failed controller. If the files justify the cost, leave the card unpowered until a lab evaluates it.
Choose the Safest Damaged SD Card Recovery Practice
Start with the least invasive move, then stop if the card shows physical failure.
| Method | Best for | Time | Success rate |
|---|---|---|---|
| 1. Stop Using the SD Card TRY FIRST | Preventing fresh overwrites | ~1 min | ● 100% |
| 2. Test the Card With a Different Reader | Reader or adapter faults | ~5 min | ● 75% |
| 3. Create a Byte-for-Byte Card Image | Unstable but detectable cards | ~20–90 min | ● 85% |
| 4. Scan the Card Image With Disk Drill | Deleted, RAW, or formatted data | ~15–120 min | ● 78% |
| 5. Send the Card to a Recovery Lab | Physical damage or critical files | ~3–14 days | ● 65% |
Which Damaged SD Card Recovery Practice Should You Use?
Stop using the card first, then make a byte-for-byte image whenever the media stays connected long enough. Disk Drill is a sensible next step for scanning that image, filtering results, plus previewing files before recovery.
Skip DIY work if the card is physically broken, gets hot, vanishes during reads, or contains irreplaceable client material. In those cases, package it safely for a recovery lab.
Recover to a separate healthy drive, verify the files, then replace the damaged card rather than trusting it for another shoot.